Using Meraki Dashboard APIs for Local DNS
Problem
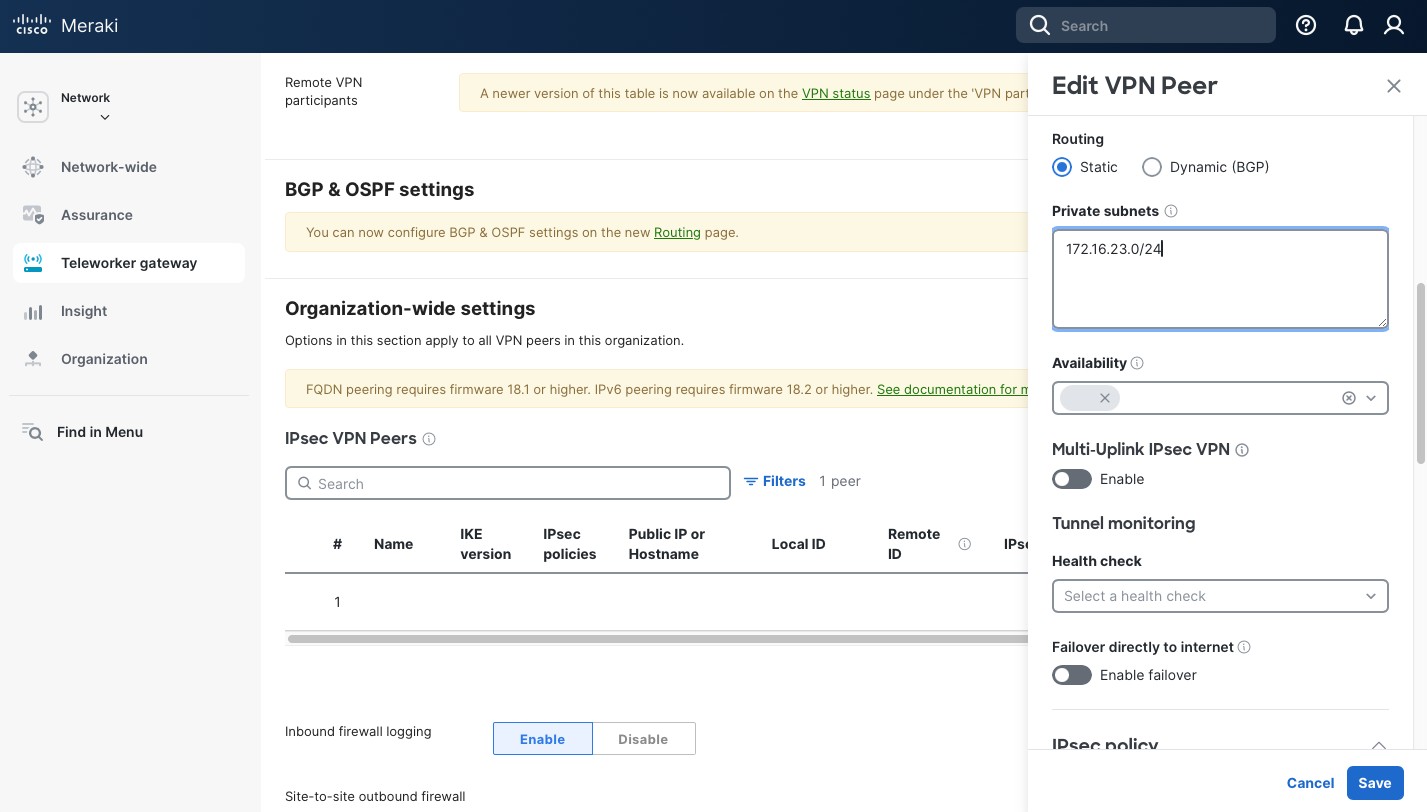
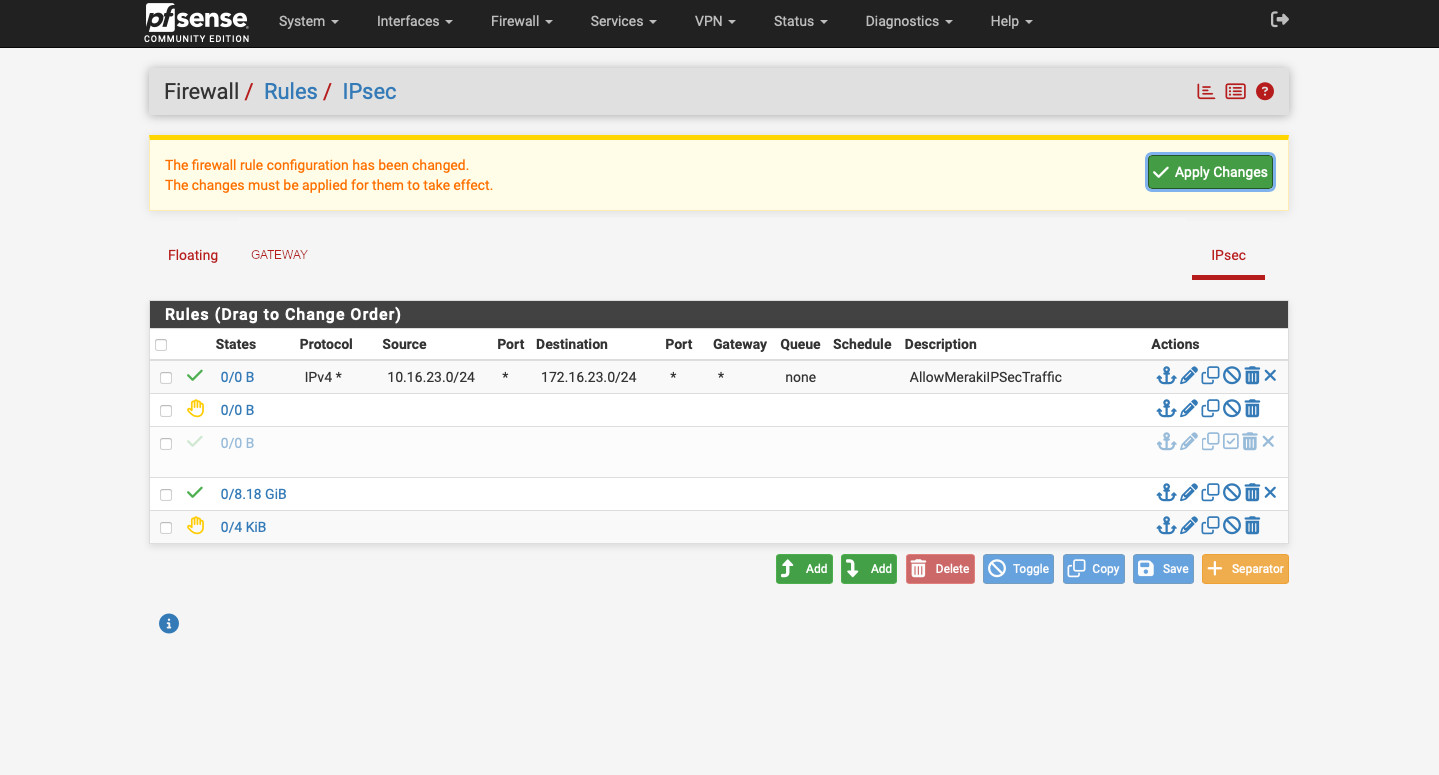
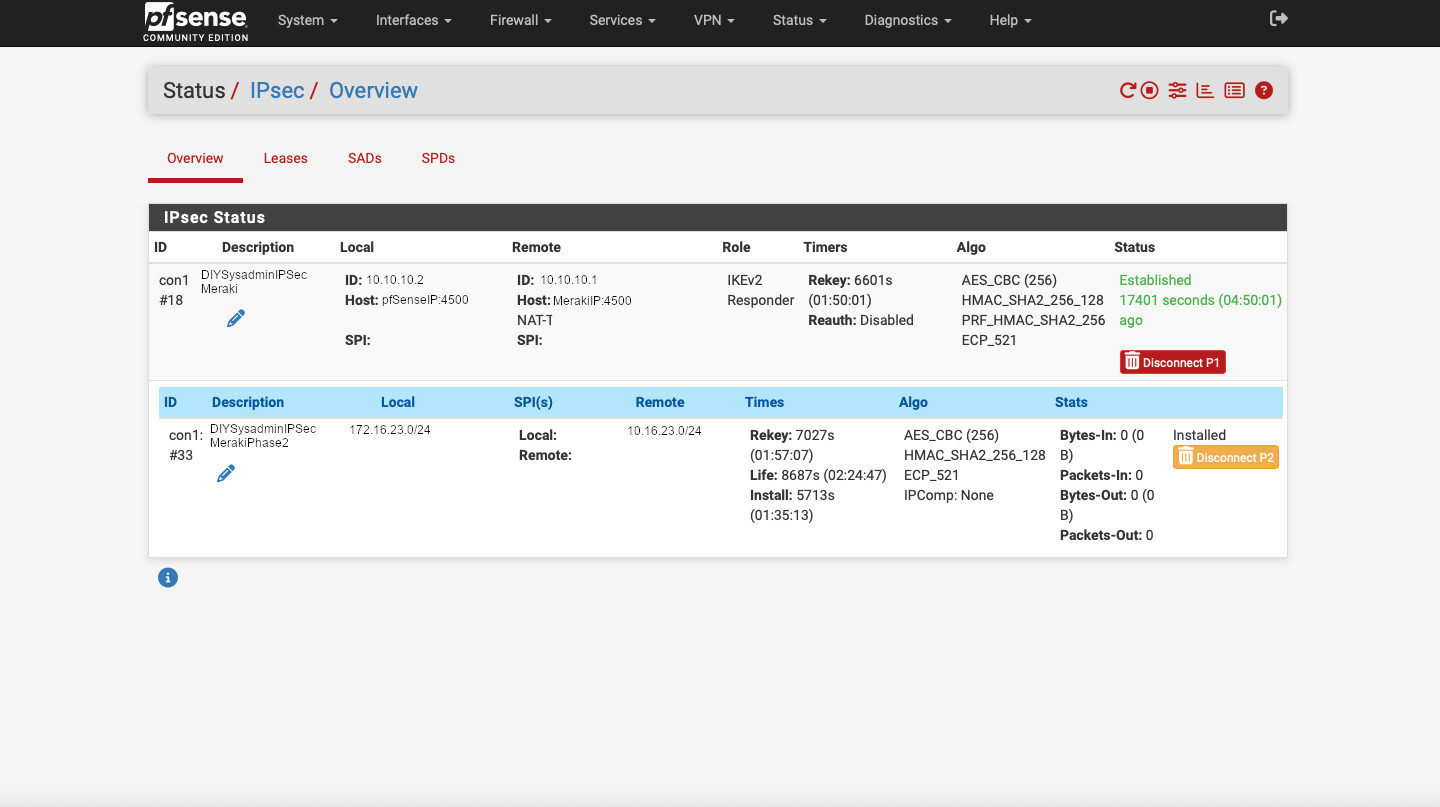
The goal in IPsec between Meraki and pfSense was to enable access from a LAN behind the Meraki Z4 to access an internal https server in a LAN behind the pfSense. IPsec allows that. But. What does an https server use to provide the “s” to “http”? That’s right, a TLS certificate. If your client validates the certificates, when you access an https resource that uses a self signed certificate or a certificate issued by an authority not in the client’s chain of trust, you’ll get a warning. That warning is annoying and, depending on the client, can even prevent further access to the server.
Solution
So we have 2 solutions:
- Add the signing certificate authority to the client’s chain of trust. This solves the warning. But not all clients support that (I am looking at you, IoT). And you’d need to do that for every device that will be accessing the server.
- Use a certificate signed by an authority that the devices already trust. Perfect! I use Let’s Encrypt and it is trusted by most devices.
Let’s Encrypt validates domain ownership to issue a certificate. It needs to be a publicly accessible domain (so no .local or anything like that). And, lucky, for us, we do have a public domain set up for our DynDNS access. Great! (Maybe some time in the future I’ll write about Let’s Encrypt, but it’s really not complicated. We’ll see.)
Problem. Part 2
TLS encryption works by the client submitting a Server Name Indication (SNI) request to the server. The SNI is the domain name that the client is trying to access. It is important because the https server provides a response and the certificate based on the SNI. Even though the underlying communication happens on the IP layer, the client must access the https server by the domain name. If the client accesses the https sever by the server’s IP address, the client will get a warning and we’ll be back where we started.
Solution. Part 2
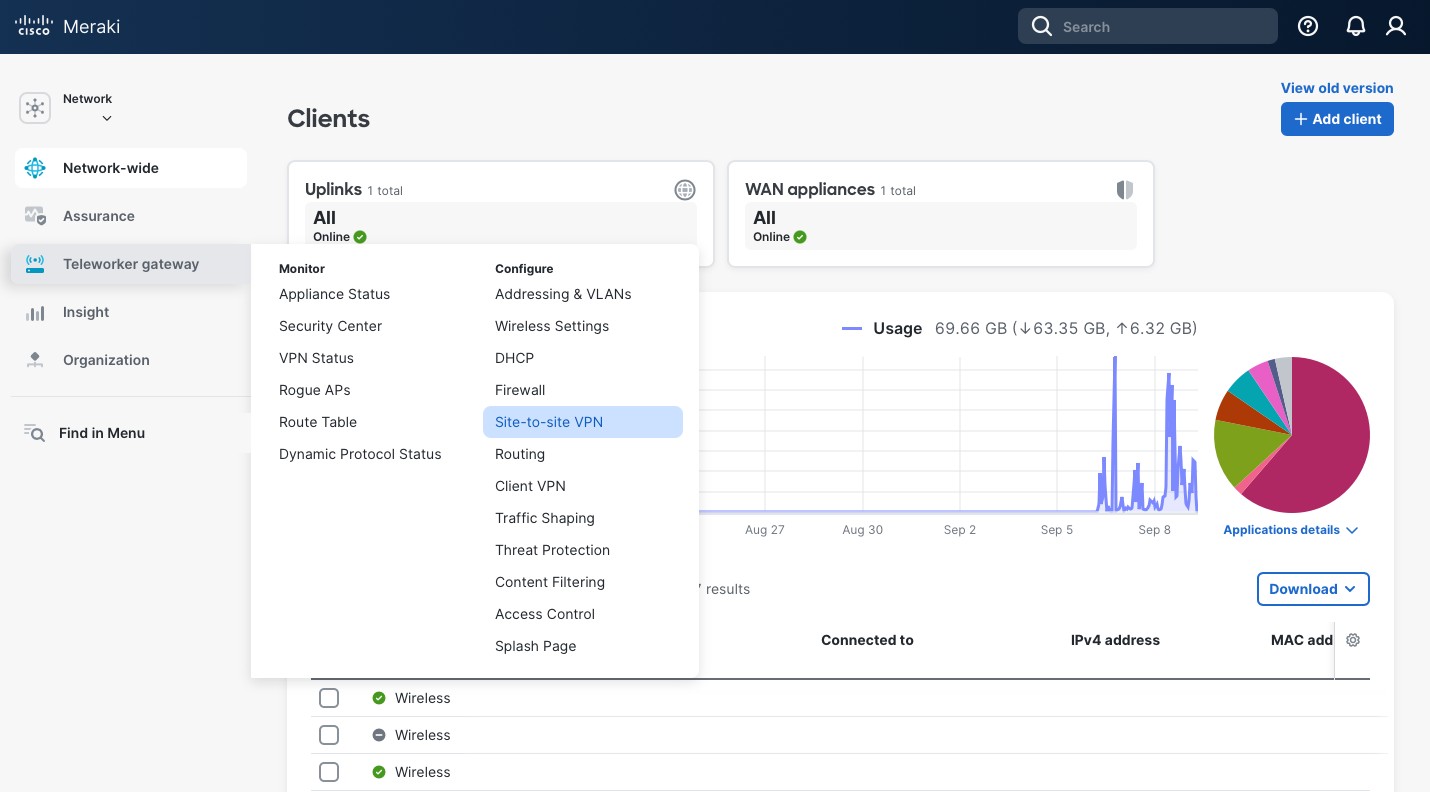
So the solution is obvious. Create an A (or AAAA, if you’re fancy) DNS record for your domain that will point to the https server. The DNS record can point to a private IP address, no problem. But how do you do it with a Meraki Security Appliance (or a Teleworker Gateway)? We have a few options:
- Run our own DNS server, like Pi-hole. I love Pi-hole and run it on the pfSense LAN. But I’d need an additional device on the Z4 LAN just to serve a single DNS record. I’m not a fan of this option.
- Create a DNS record in a public DNS resolver. Since I do have a domain with Cloudflare, I can easily create a DNS record with them. This way a Cloudflare’s server will be queried to resolve the domain. I’m not a huge fan of this option either. This way we’re advertising our internal server’s IP address to the entire internet. Yes, the IP is internal and is not globally routable, but still…
Luckily, Meraki provides just the solution for this problem in the form of Local DNS records. What it does is you can create a DNS record and an MX (or a Z) will respond to the query with the IP address configured. As of September 2025, this function is not available through the Dashboard and must be configured through the Dashboard APIs. There are additional requirements for this to work1:
- MX (Z) running firmware 19.1+
- DNS namservers setting under DHCP Settings must be configured as “Proxy to Upstream DNS”
- The Network must not be a part of a Template.
So, let’s get to it.
Local DNS with Meraki Dashboard APIs script
Now, we’re finally got to the core of the post. Let’s set up the script and the functions for us to execute the API calls.
On a high level, to set up Local DNS records we need:
- Create an organization’s Local DNS Profile
- Create a Local DNS record in the profile we created
- Assign the profile to a network
We’ll expand the code we started in Part 1. We’ll need a name for a profile we’ll be creating. For simplicity, I use the same name as the network we’ll be assigning the profile to. We’ll need a fully qualified domain name and the IP address that we’ll be using for the record.
import requests
import json

API_KEY = "<API_KEY_HERE>"
Organization = "<ORGANIZAION_NAME_HERE>"
Network = "<NETWORK_NAME_HERE>"

URL = "https://api.meraki.com/api/v1"

Profile = Network
Domain = "<fullyqualified.domain[.]tld>"
IP_addr = "<192.168.12.34>"
Now, let’s create our functions.
First, we need to get our Organization ID. We could get it from the Dashboard, but it’s easier to just make an API call. The function needs the Organization’s name. It’ll then query the API using the API key and will return the matching Organization ID, or nothing (None) if an organization with such name is not found. So, pay attention to the organization’s name.
#Fuction to get Organization ID
def getOrganizations(target_name):
    payload = None
    headers = {
        "Authorization": f"Bearer {API_KEY}",
        "Accept": "application/json"
    }
    response = requests.request('GET', f"{URL}/organizations/", headers=headers, data = payload)
    json_str = response.content.decode('utf-8')
    data = json.loads(json_str)
    for organization in data:
        if organization.get("name") == target_name:
            return organization.get("id")
    return None
Next, we need a function to get the Network ID. Similar to the function above:
#Function to get Network ID
def getOrganizationNetworks(target_name):
    payload = None
    headers = {
        "Authorization": f"Bearer {API_KEY}",
        "Accept": "application/json"
    }
    response = requests.request('GET', f"{URL}/organizations/{Org_ID}/networks", headers=headers, data = payload)
    json_str = response.content.decode('utf-8')
    data = json.loads(json_str)
    for network in data:
        if network.get("name") == target_name:
            return network.get("id")
    return None
Next, we create an organization Local DNS profile. It needs the Organization ID and the name for the profile (we use the same name as the network).
#Function to Create an Organization Local DNS Profile
def createOrganizationApplianceDnsLocalProfile(Org_ID, prof_name):
    payload = f'''{{ "name": "{prof_name}" }}'''
    headers = {
        "Authorization": f"Bearer {API_KEY}",
        "Content-Type": "application/json",
        "Accept": "application/json"
    }
    response = requests.request('POST', f"{URL}/organizations/{Org_ID}/appliance/dns/local/profiles", headers=headers, data = payload)
    json_str = response.content.decode('utf-8')
    data = json.loads(json_str)
    return data
After that, we need a function to get the Profile ID for the profile we just created. Technically, you can get the ID at the time of the profile creation, but you’d need this function if you ever add records to an already existing profile.
#Function to get Profile ID for a particular Profile
def getOrganizationApplianceDnsLocalProfilesSpecific(ProfName):
    payload = None
    headers = {
        "Authorization": f"Bearer {API_KEY}",
        "Accept": "application/json"
    }
    response = requests.request('GET', f"{URL}/organizations/{Org_ID}/appliance/dns/local/profiles", headers=headers, data = payload)
    json_str = response.content.decode('utf-8')
    data = json.loads(json_str)
    for item in data.get('items', []):
        if item.get('name') == ProfName:
            return item.get('profileId')
    return None
Now, we need a function to create the Local DNS record. It needs the Organization ID, Profile ID, FQDN, and the IP address.
#Function to Create a DNS Local Record
def createOrganizationApplianceDnsLocalRecord(Org_ID,ProfID,Dom,IP):
    payload = f'''{{
    "hostname": "{Dom}",
    "address": "{IP}",
    "profile": {{ "id": "{ProfID}" }}
    }}'''
    headers = {
        "Authorization": f"Bearer {API_KEY}",
        "Content-Type": "application/json",
        "Accept": "application/json"
    }
    response = requests.request('POST', f"{URL}/organizations/{Org_ID}/appliance/dns/local/records", headers=headers, data = payload)
    json_str = response.content.decode('utf-8')
    data = json.loads(json_str)
    return data
Finally, we need a function to assign the profile to the network. This what enables the security appliance (or the teleworker gateway) to actually resolve the domain name into the IP address for its clients. It requires the Organization ID, Network ID, and the Profile ID.
#Fuction to assign the DNS Records Profile to a Network
def bulkOrganizationApplianceDnsLocalProfilesAssignmentsCreate(Org_ID,Net,Prof):
    payload = f'''{{
    "items": [
        {{
            "network": {{ "id": "{Net}" }},
            "profile": {{ "id": "{Prof}" }}
        }}
    ]
    }}'''
    headers = {
        "Authorization": f"Bearer {API_KEY}",
        "Content-Type": "application/json",
        "Accept": "application/json"
    }
    response = requests.request('POST', f"{URL}/organizations/{Org_ID}/appliance/dns/local/profiles/assignments/bulkCreate", headers=headers, data = payload)
    json_str = response.content.decode('utf-8')
    data = json.loads(json_str)
    return data
After defining the functions, we need to call them in the following order to create the Local DNS record in our network.
Org_ID = getOrganizations(Organization)
Netw = getOrganizationNetworks(Network)
createOrganizationApplianceDnsLocalProfile(Org_ID,Profile)
ProfNumb = getOrganizationApplianceDnsLocalProfilesSpecific(Profile)
createOrganizationApplianceDnsLocalRecord(Org_ID,ProfNumb,Domain,IP_addr)
bulkOrganizationApplianceDnsLocalProfilesAssignmentsCreate(Org_ID,Netw,ProfNumb)
This should be it. To validate that the record is created you’ll need one more function.
#Function to get Local DNS Records
def getOrganizationApplianceDnsLocalRecords(Org_ID):
payload = None
headers = {
"Authorization": f"Bearer {API_KEY}",
"Accept": "application/json"
}
response = requests.request('GET', f"{URL}/organizations/{Org_ID}/appliance/dns/local/records", headers=headers, data = payload)
json_str = response.content.decode('utf-8')
data = json.loads(json_str)
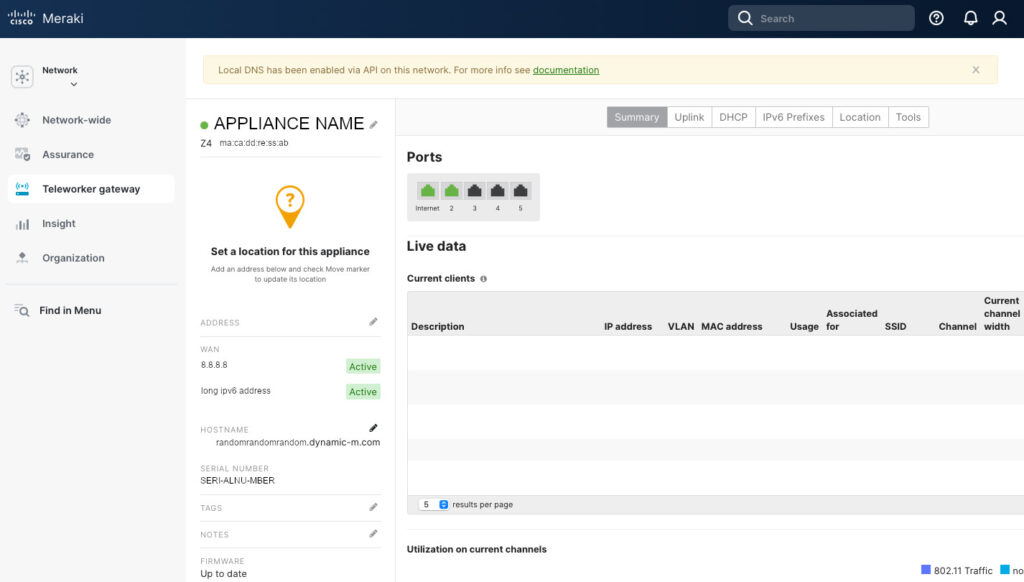
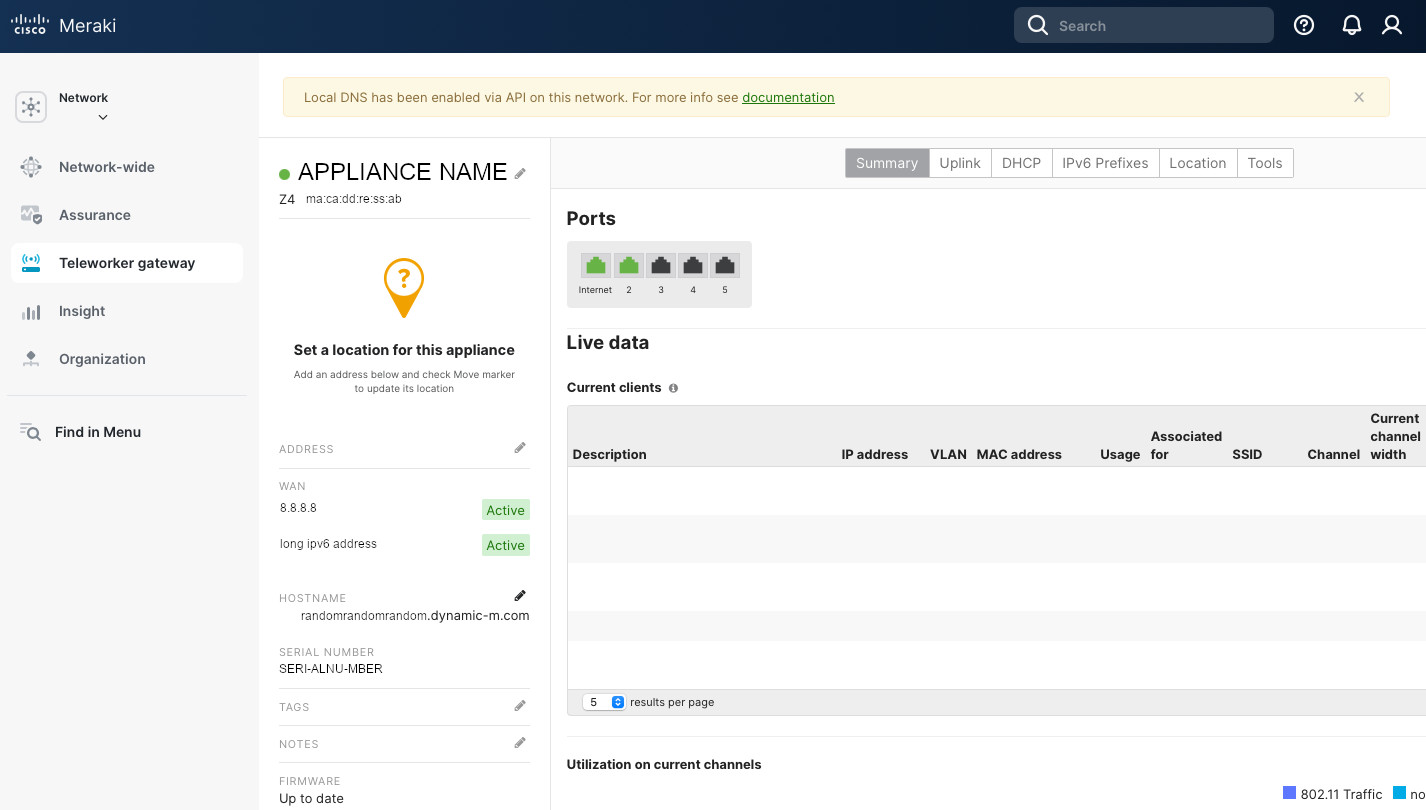
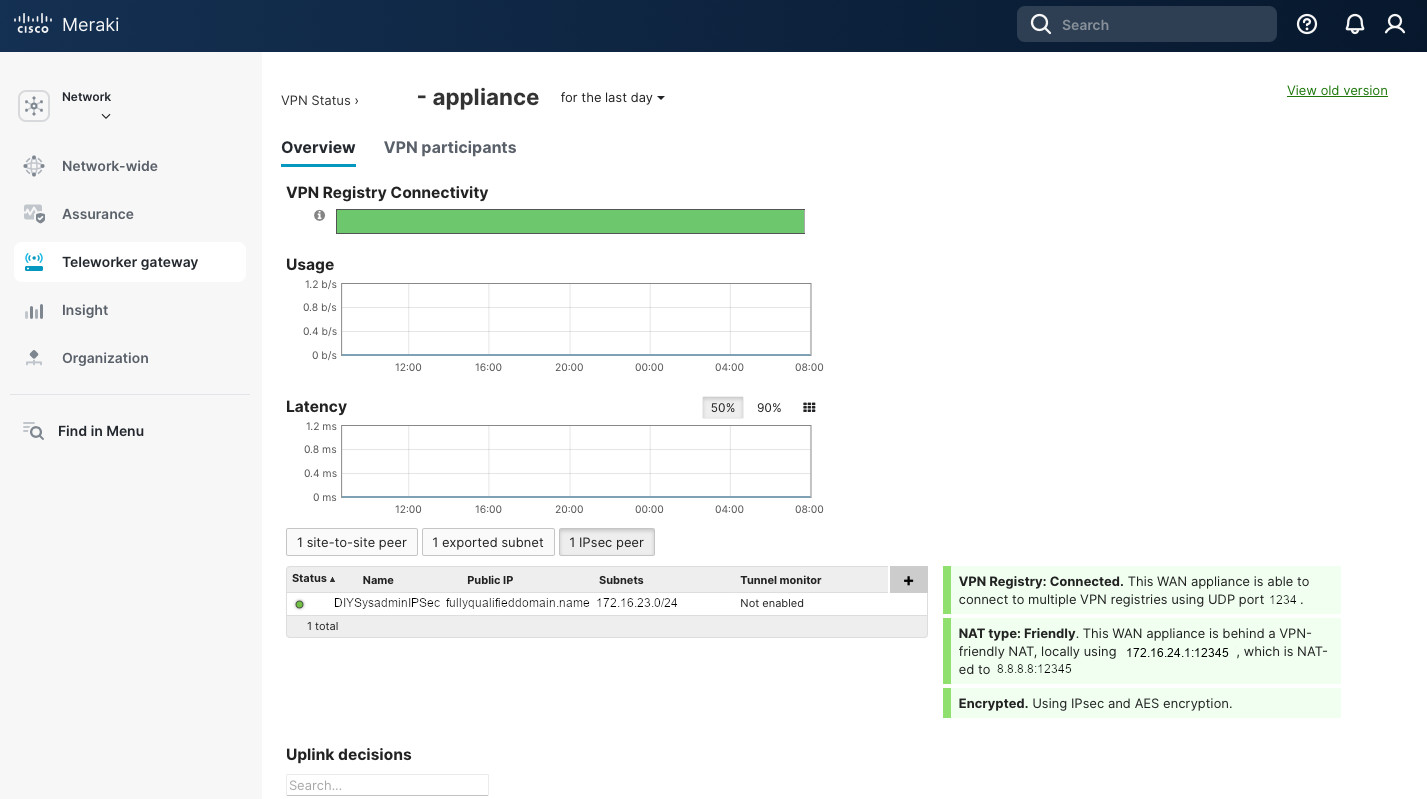
return dataAfter all of this, you should have this beautiful banner at the top of your Appliance Status page indicating that this appliance has the local DNS record. And the devices on my Z4’s LAN successfully resolve the domain name into the IP address across the IPsec tunnel. And no annoying certificate warnings!

Providing additional functionality through APIs only instead of the Dashboard is, in my opinion, a bit antithetical to the Meraki’s idea of simplicity. But, perhaps, the Local DNS is a too niche of a requirement. Anyways, beggars can’t be choosers and I pick having the option, even through the APIs, over not having the option at all. And APIs are totally Enterprise. So, I am not complaining…