Securing Linux SSH with Duo two-factor authentication.
A few days ago, I was chatting with someone about authentication. They mentioned Cisco Duo. I’ve used Duo before and knew it as an Enterprise-grade Identity/MFA provider. But I did not realize that Duo offered an “Enterprise. At home” tier of service with their “Duo Free” edition. In this post we’ll revisit the securing SSH post and will use Duo for our 2-Factor Authentication.
Duo offers multiple editions based on the number of users that the installation will support and the features available. For Duo Free, the limit is 10 users. That should be fine with our use case.
Duo provides a ton of excellent and easy to follow documentation instructions. They integrate with many products and make configuration easy. The integration that we’re interested in, for this post, is Duo Unix, documentation is found here.
Set up
Before we begin, we need to do some pre-requisite ground work. Unlike my other SSH post, we’ll be using a RHEL derivative AlmaLinux instead of Debian. I won’t bore you with the installation steps for AlmaLinux, but assume that it is version 10, minimal install.
And, of course, you need to create an account with Duo. Again, it’s pretty simple, so I trust you can do it.
Let’s configure Duo side first as we’ll need some configuration parameters for our integration.
Duo
If you don’t need the 30-day trial Duo offers you, you can switch to Duo Free. To do so, go to Billing -> Billing on the left, scroll down and select “Duo Free” for “Edition” under the “Manage Subscription” section. Accept Terms and Conditions and click the blue “Update Subscription” button.

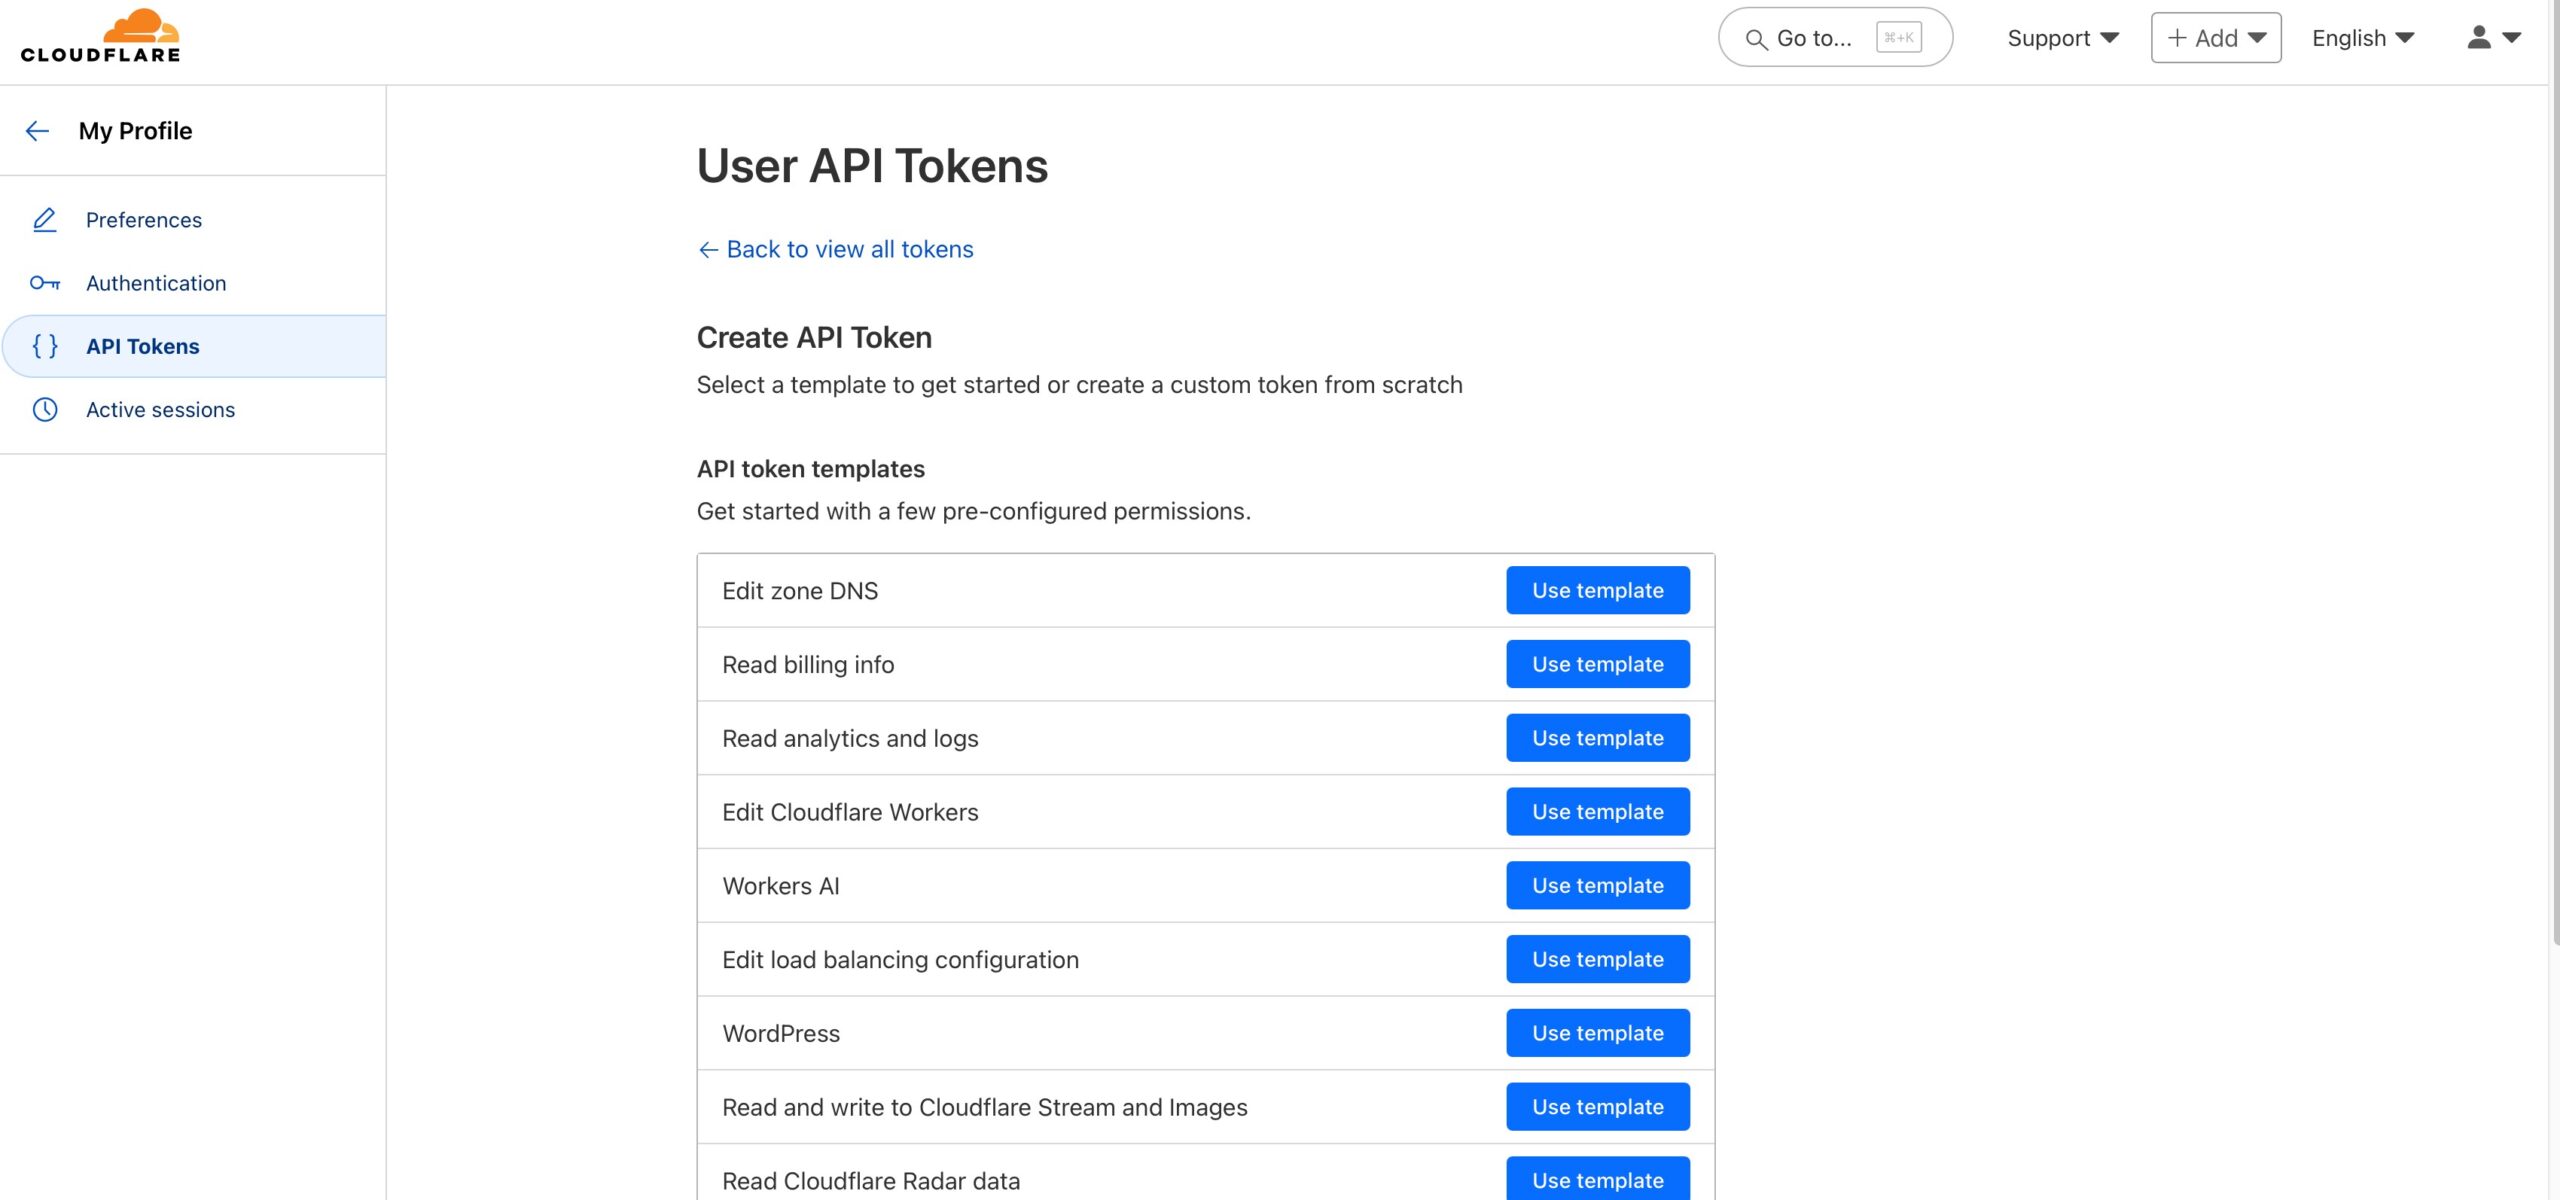
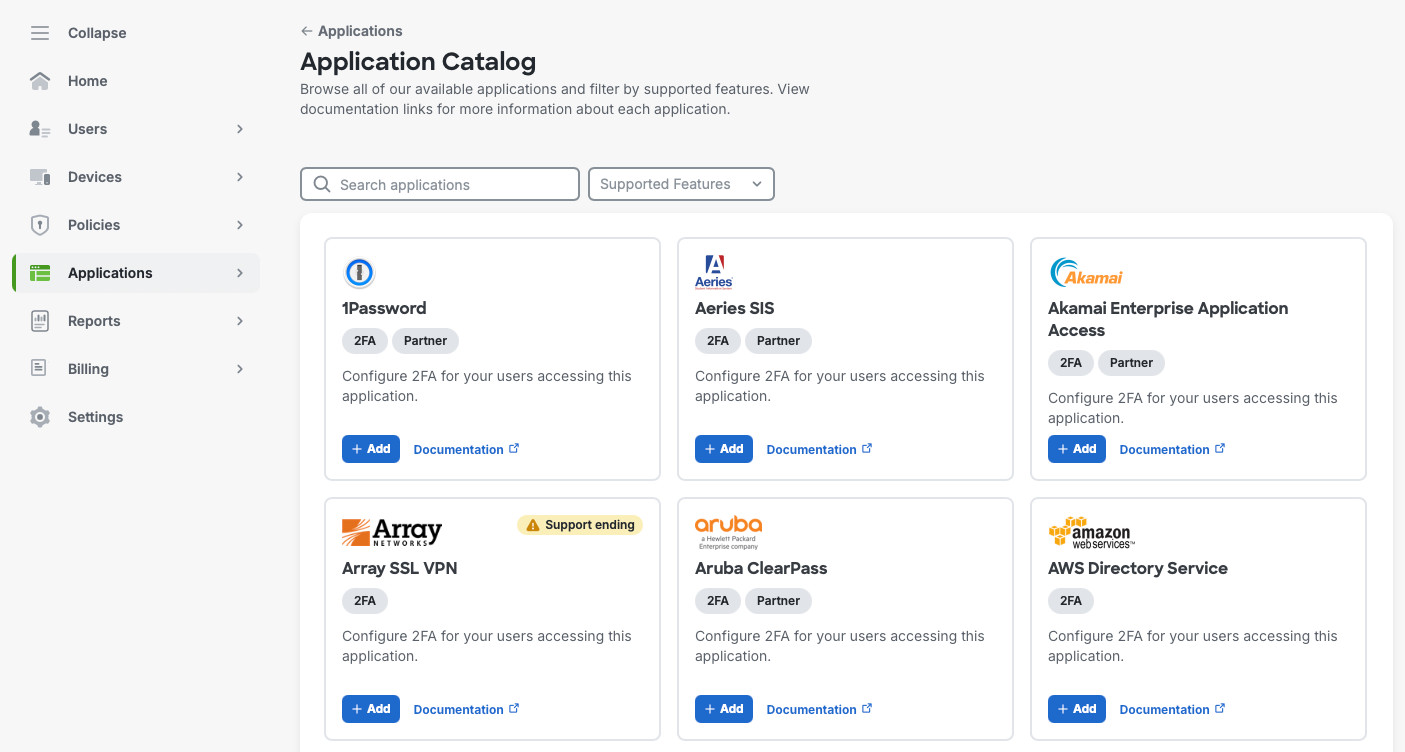
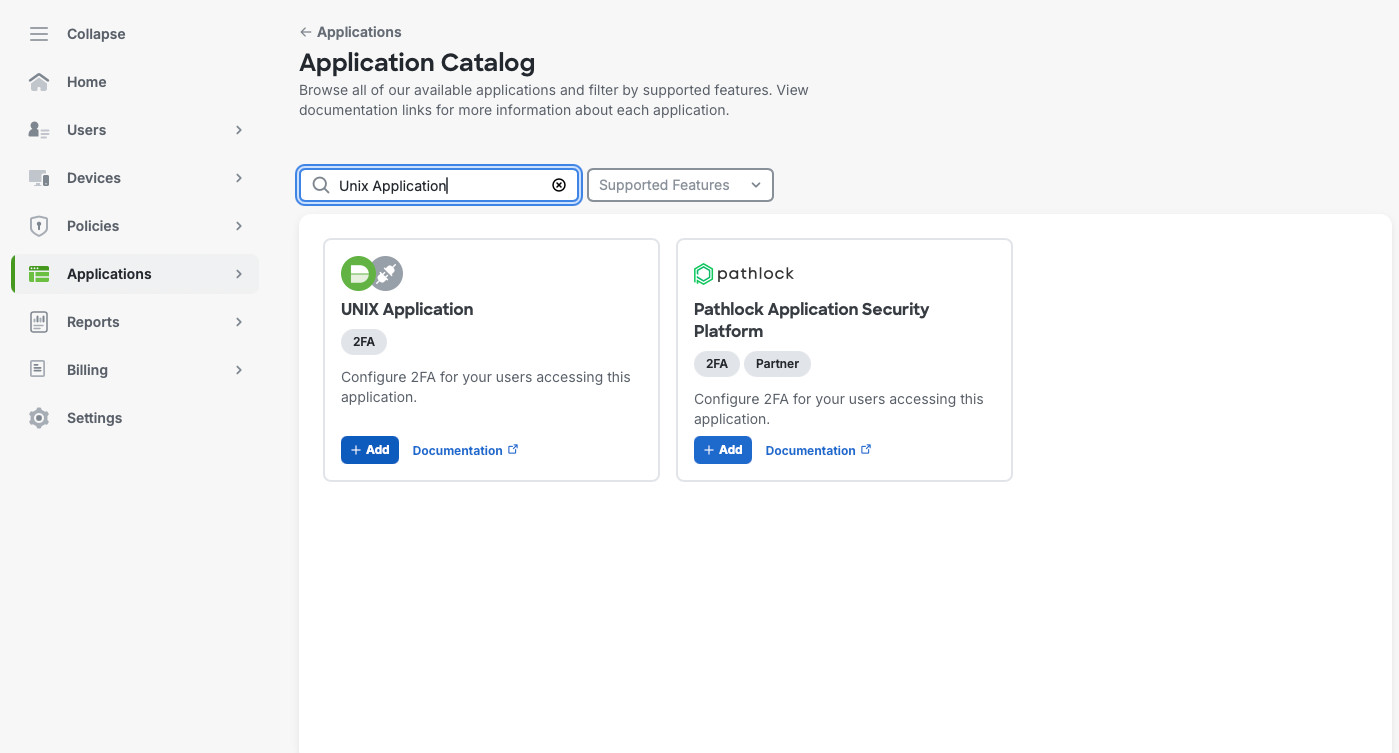
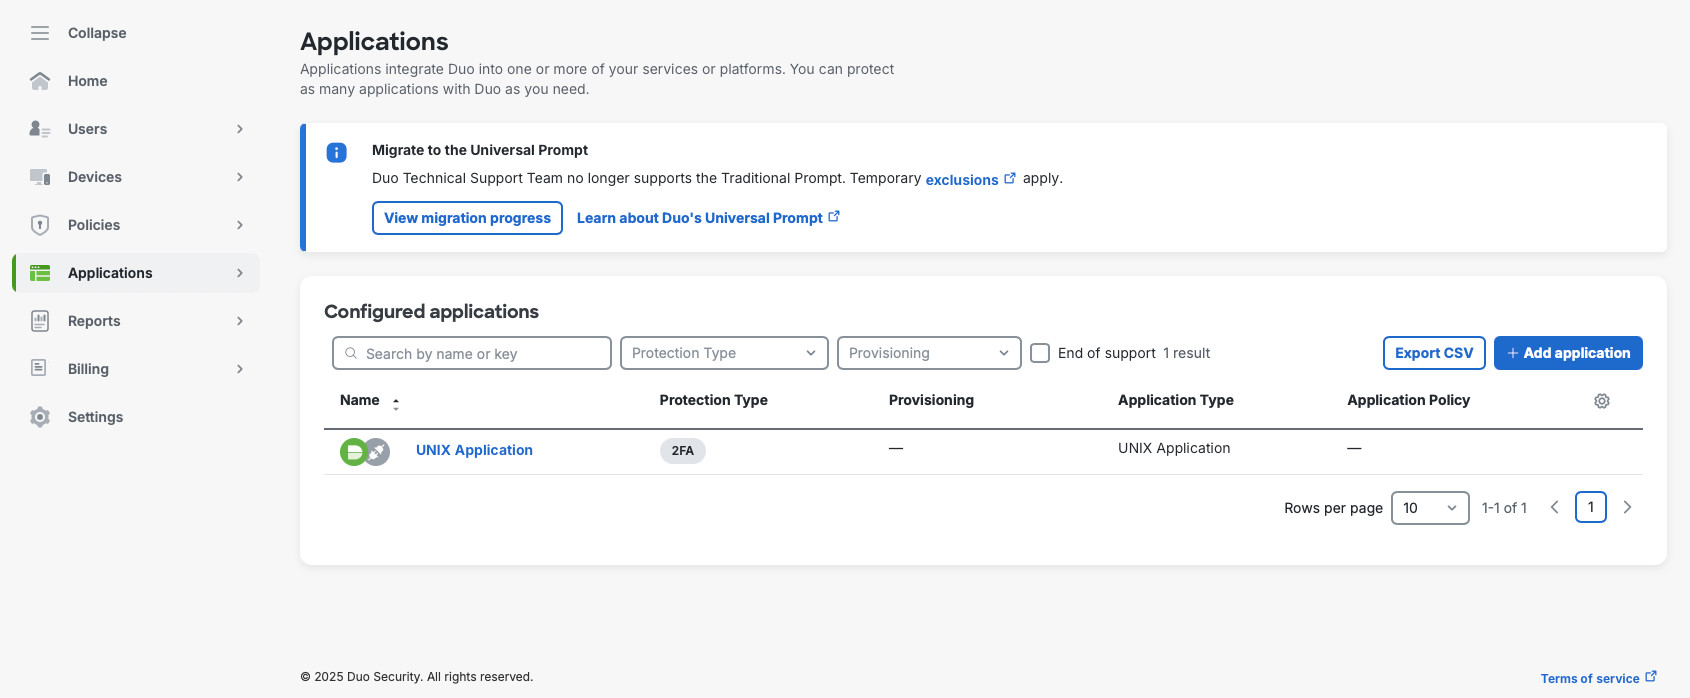
Next, in Application -> Application Catalog, we’ll search for “Unix Application” and will add it to our environment.
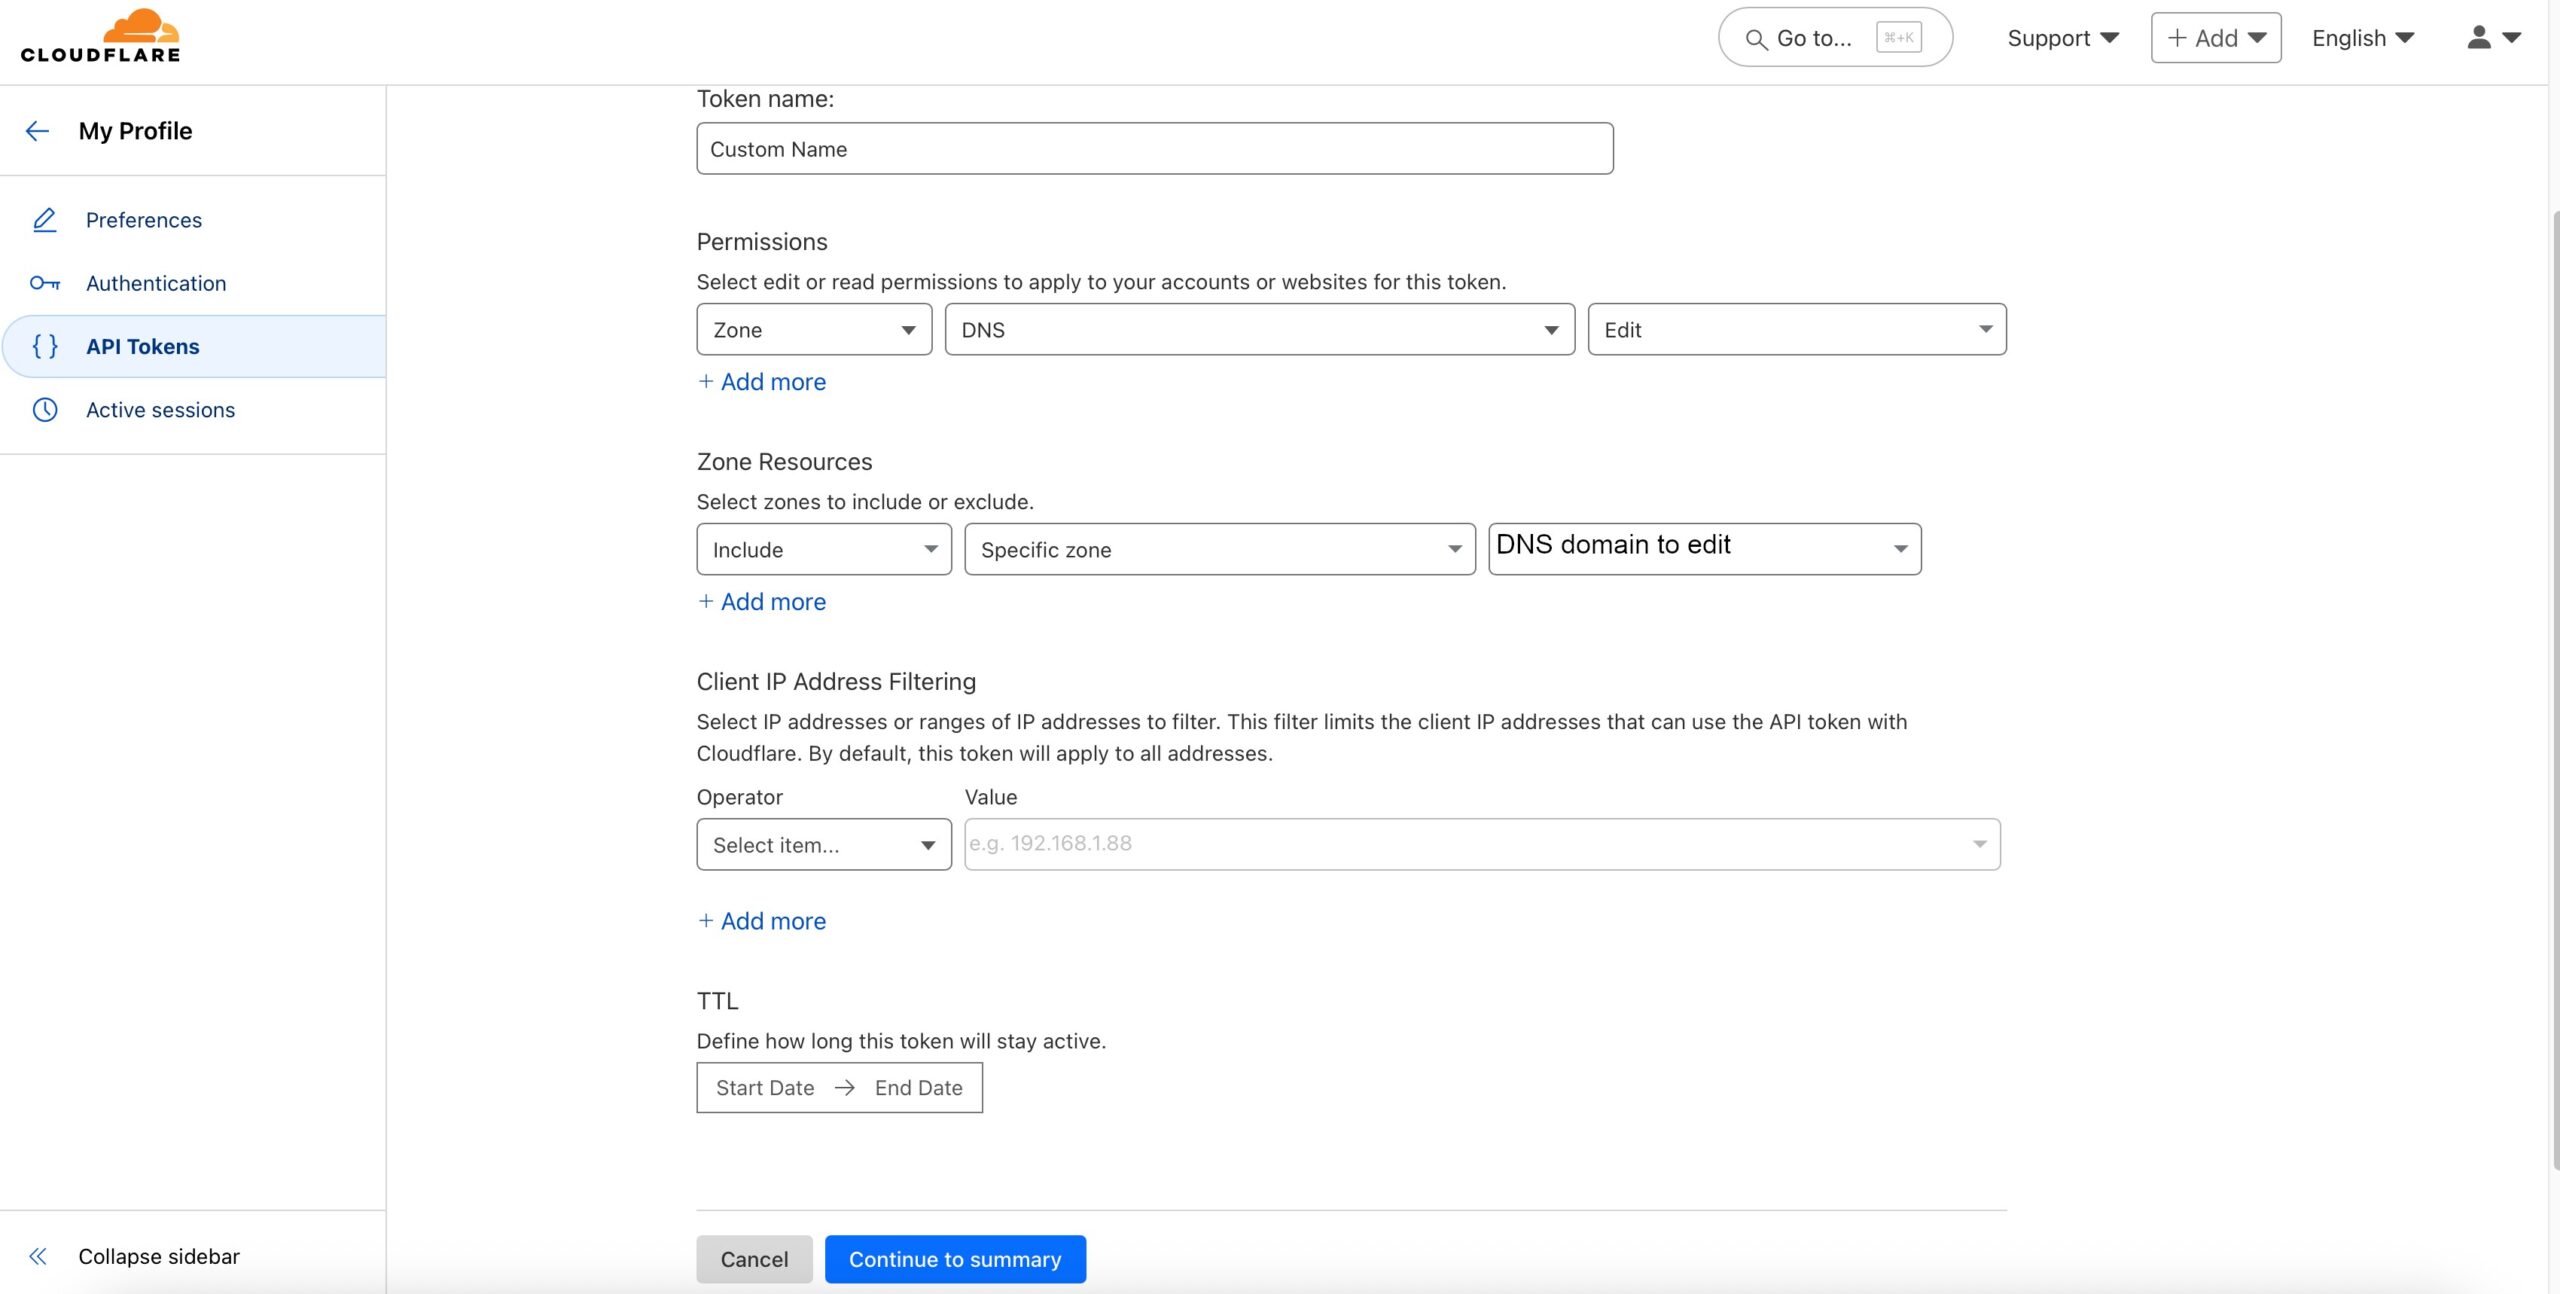
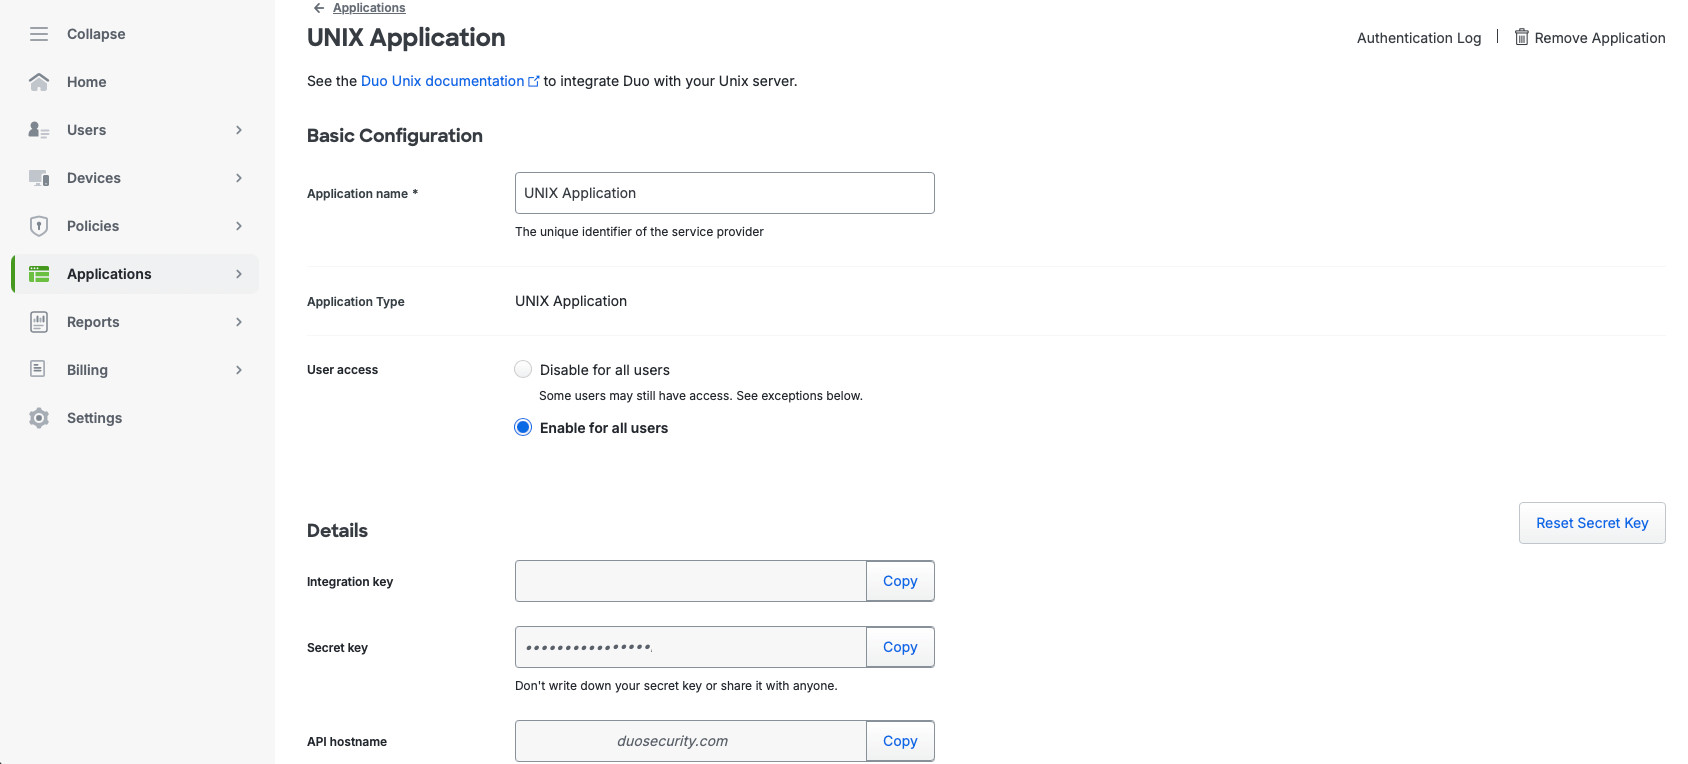
In the new screen, we’ll name our application, select “Enable for all users”, make any changes for the phone greeting. This screen can be found in Applications -> Applications. In the “UNIX Application” screen you’ll see the “Integration key”, Secret key”, and “API hostname”. We’ll use these values when we set integration up on our Linux server.
Linux SSH
Now, we need to configure our Linux server. First, because we have a minimal installation, we need to install the required packages. Because we’re using a RHEL derivative (AlmaLinux), we’ll use dnf. We need to install gcc as we’ll be compiling the duo_pam module from source.
sudo dnf install wget openssl-devel pam-devel selinux-policy-devel bzip2 tar gcc nano -yNow, download and extract the source code. Make sure you’re using the actual names of the .tar.gz file as it’ll change as the new version is released.
wget --content-disposition https://dl.duosecurity.com/duo_unix-latest.tar.gz
tar zxf duo_unix-2.2.1.tar.gz
cd duo_unix-2.2.1
Now, compile and install the Duo PAM module.
./configure --with-pam --prefix=/usr && make && sudo make installAfter the installation, let’s take care of SELinux, if you have it in Enforcing mode. Make sure to run these commands in the duo_unix-2.2.1 folder, the folder where we extracted the source code to.
sudo make -C pam_duo semodule
sudo make -C pam_duo semodule-install
sudo semodule -l | grep duo
The last command should return a line authlogin_duo, indicating the SELinux module is installed.
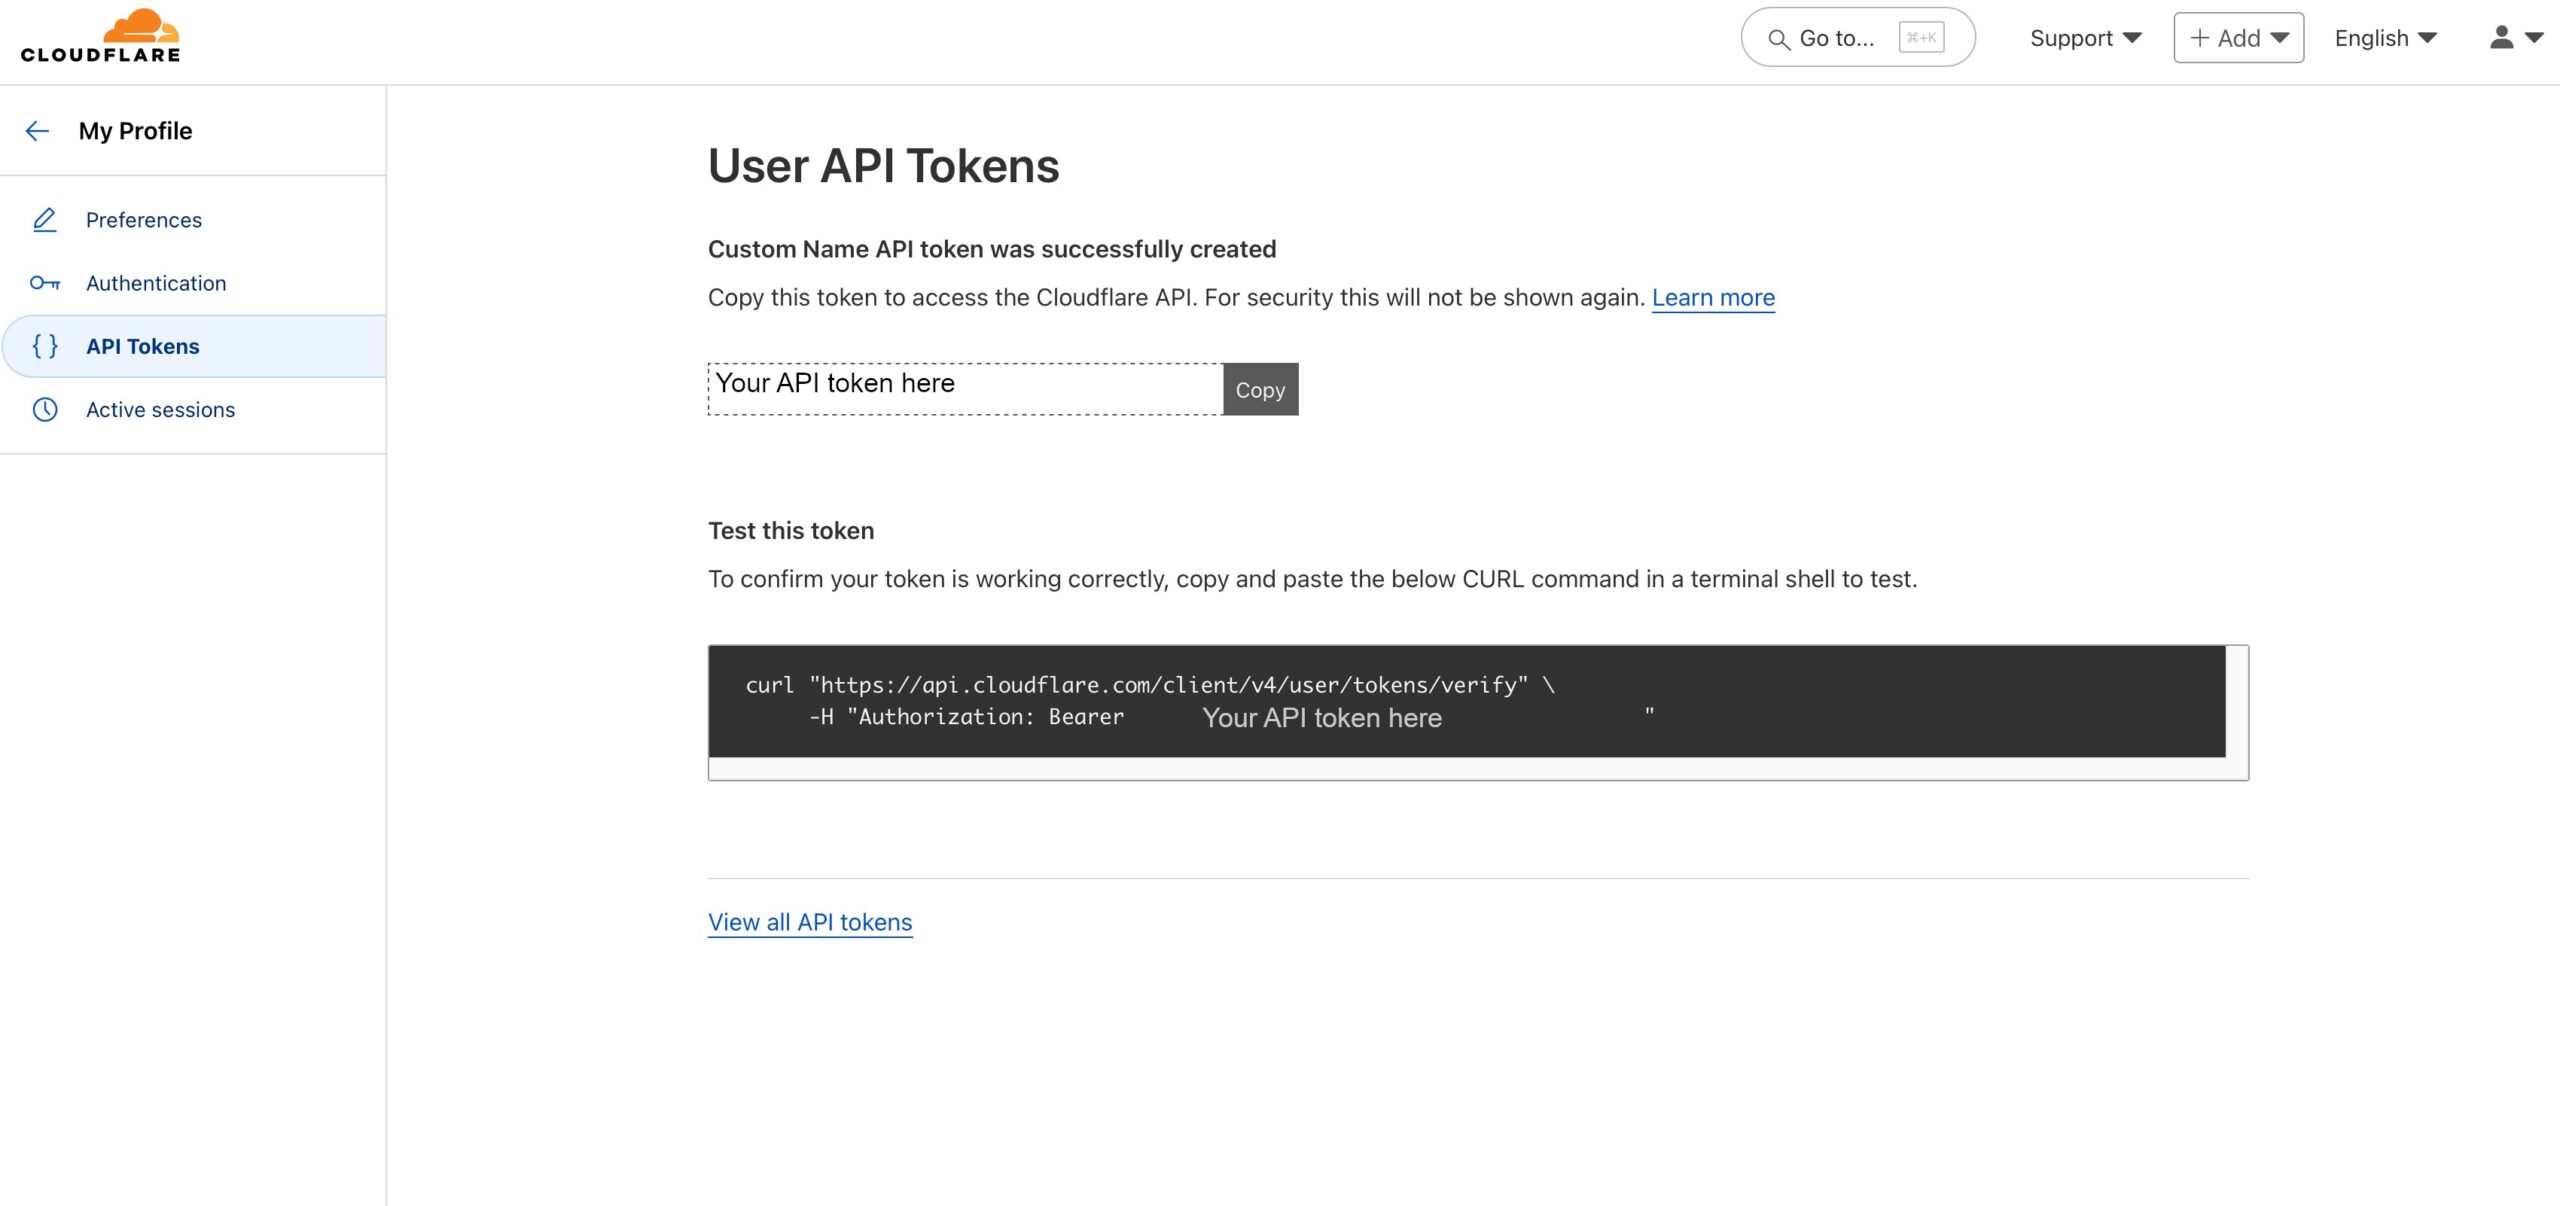
It’s time to configure Duo to allow for 2-factor authentication. Edit the pam_duo.conf file by running sudo nano /etc/duo/pam_duo.conf. Use the screen in Figure 4 to get the ikey (Integration key), skey (Secret key), and host (API hostname) values. Uncomment pushinfo = yes by removing a ; and add autopush=yes and prompts = 1. This will enable push notification to a phone so all you need to do is click a green “Approve” check mark button (but you need to do so on the first try).
Now, we’ll configure SSH and PAM. First, we’ll configure SSH to use password authentication + Duo 2FA for SSH. sudo will NOT require 2FA. Run sudo nano /etc/ssh/sshd_config and make the following changes to the SSH config (add the line AuthenticationMethods as it doesn’t exist by default):
PubkeyAuthentication no
PasswordAuthentication no
UsePAM yes
KbdInteractiveAuthentication yes
UseDNS no
AuthenticationMethods keyboard-interactive
Next, edit with sudo nano /etc/ssh/sshd_config.d/50-redhat.conf and comment out the line ChallengeResponseAuthentication no with a #.
Edit the SSH PAM configuration with sudo nano /etc/pam.d/sshd and make sure the auth section is as follows:
auth	   required     pam_sepermit.so
auth	   required pam_env.so
auth	   requisite    pam_unix.so nullok try_first_pass
auth	   sufficient /lib64/security/pam_duo.so
auth	   required pam_deny.so
Now we can reboot, cross our fingers, and try to log back in.
We should be greeted with a normal SSH login. But after putting the correct password in, we’ll get a Please enroll at https://<looong sting>. Copy the URL to your browser and follow the directions. Then try log in again and you should receive a Push notification on your phone. (I had a small issue after enrolling into Duo with sshd complaining about exceeded LoginGraceTime. Restarting sshd with sudo systemctl restart sshd solved this issue).
Public Key Authentication
To use public keys together with Duo, we need to make some modifications to our configuration. First, in /etc/ssh/sshd_config change PubkeyAuthentication no to PubkeyAuthentication yes and AuthenticationMethods keyboard-interactive to AuthenticationMethods publickey,keyboard-interactive.
In /etc/pam.d/sshd comment out the line auth requisite pam_unix.so nullok try_first_pass. This way when you log into your SSH server using the public key, you’ll need to click the “Approve” button in the Duo app. Otherwise, you’ll still need to provide the account password.
The Duo documentation has an excellent flow diagram for the authentication process using Duo, reproduced below.
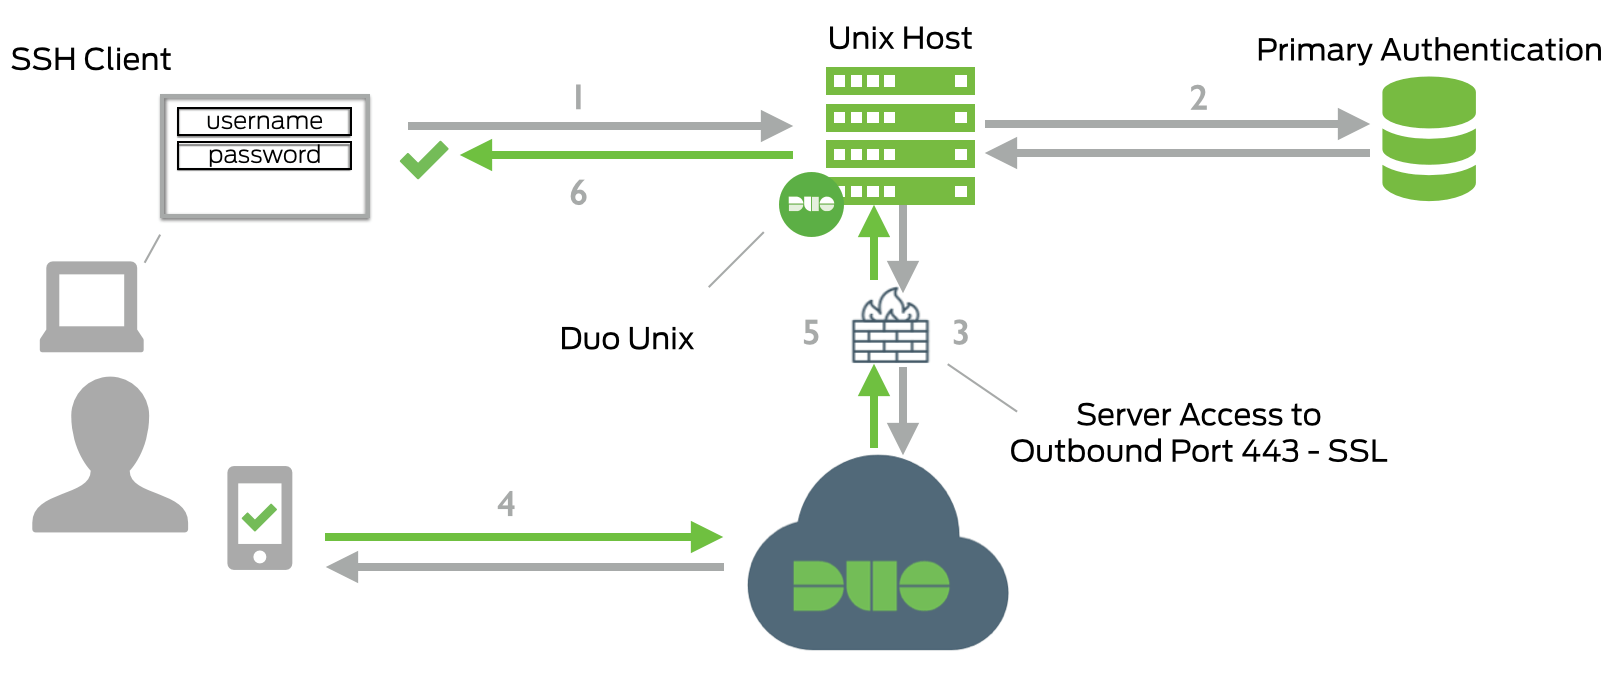
The steps are1:
- SSH connection initiated.
- Primary authentication: username/password or private key.
- Duo Unix connection established to Duo Security over TCP port 443.
- Secondary authentication via Duo Security’s service.
- Duo Unix receives authentication response.
- SSH session logged in.
Comparison of Duo and TOTP
So how does Duo compare to the Time-based one-time password (TOTP) solution we configured before?
- TOTP uses a secret to generate time-based passwords. The “server” and the “client” run the same algorithm and generate the same password based on the common secret and the time.
- The “server” and the “client” processes run independently and do not require internet.
- Duo PAM module sends an authentication request to a Duo server and, therefore, requires an internet connection. You have a choice to make where allow or deny authentication if the Duo server is unavailable. You also will have to allow each server that uses Duo to have outbound connection to the internet.
- Because Duo is a centrally managed platform, unlike TOTP, auditing login attempts. Unless you set up a syslog server, there’s no central way to manage TOTP login attempts.
- Unless you’re using a centralized authentication server, such as RADIUS or AD, there’s no easy way to lock a user out when using TOTP. You’d have to touch every server where the user is configured. With Duo, you can disable the user and they’ll fail the second authentication factor (Duo) and you’ll be able to monitor those failures.
Overall, I think Duo is an excellent solution for centralized MFA. I prefer it for the ease of set up, large number of integrations, and simplicity of centralized audit and management. But for the servers with no internet access, I’d fall back to TOTP, if I need the second factor.
N.B.
Our set up enables 2FA for remote SSH login ONLY. It does not provide any additional factors of authentication for the local login. Duo PAM can be configured to provide 2FA for local access and even require a push notification approval for sudo.
So why did I choose not to protect the local logins with the second factor? Security always needs to be weighted against convenience of use. In my use case, there’s no expectation of physical shared access to the servers. And if an adversary has physical access to the machine, they can always reboot it, get into the recovery menu, change the root password, and do other nasty things. Unless we put additional measures to stop that, which will put additional barriers to the normal use. Again, we’re balancing security with convenience. In the case where there’s no physical access to the machines, I think securing just the remote SSH access with 2FA is perfectly reasonable. Your mileage may vary…